Apple Silicon and legacy command-line software
In 2020 Apple revealed the revolutionary M1 chip, or as they call it: Apple Silicon. Greatly improved performance packed in a much smaller and more energy-efficient processor. It meant a big leap away from Intel processors that have powered Macs since 2005. The M1 chip is based on the ARM architecture, similar to processors powering almost all mobile phones and tablets. The consequence is that software which is written for the traditional x86 (Intel) architecture will not directly run on Apple Silicon Macs. For that reason lots of Mac-software is currently updated to run M1 natively.
For software that is not yet updated, Apple has built in translation software called Rosetta 2. Rosetta 2 will interpret traditional Intel-based code and make it look like ARM-based code. And it does this pretty well. Generally speaking as a user it is very difficult to distinguish between apps that have ‘native M1 support’ to traditional Intel-based apps.
But for any apps that are run from the command-line in Terminal, this standard Rosetta 2 translation does not happen. Within Astrophotography it is not uncommon to have apps that run from the command-line. Within AstroWorldCreations, one such app is Mountwizzard 4, that controls the 10Micron mount.
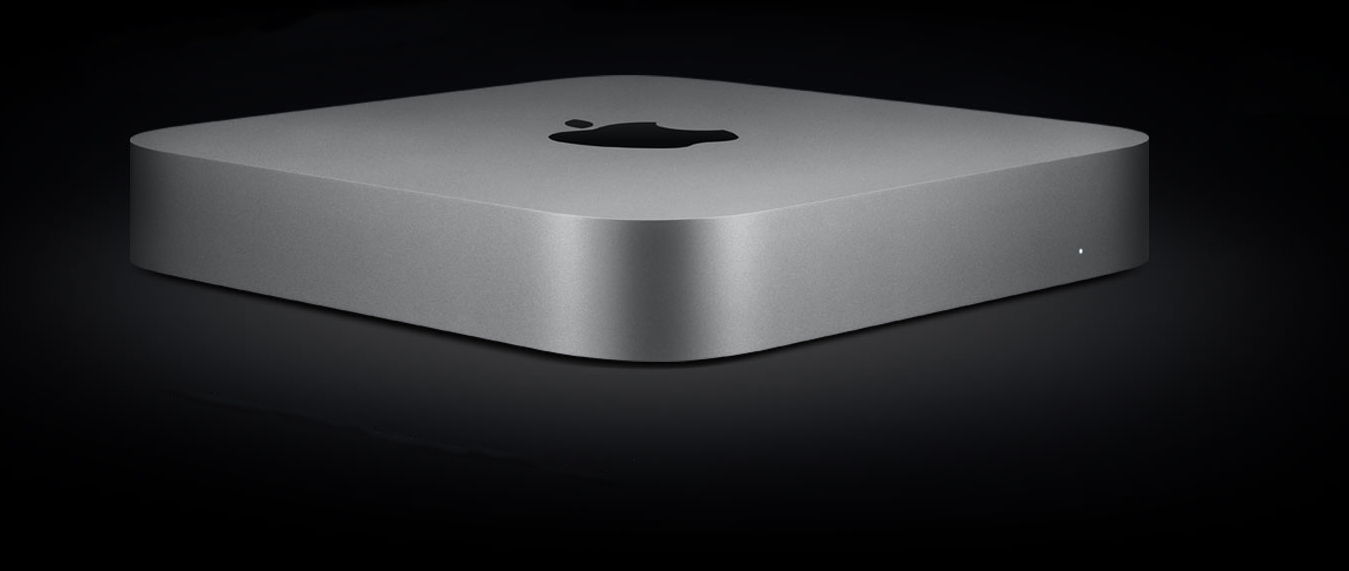
Recently a Mac mini (2020) with M1 processor was introduced in the control of the observatory. Unfortunately, running the scripts from the Terminal to install Mountwizzard 4 failed. Also copying a full installation (a Mountwizzard installation is self-contained) from another Intel-based Mac failed. It turned out the trick is to run Terminal in Rosetta 2 emulation mode
Terminal in Rosetta emulation
Running Terminal in Intel mode, making use of the built-in Rosetta 2 translation, is actually quite easy. Using the following steps should do it.
Open the Terminal app and go to ‘Preferences’
Select the ‘Profiles’ tab
Duplicate the Basic (or any other) profile by clicking the circle with three dots
Give the new profile a logical name, e.g. Basic (Intel)
Select the Window tab and give a name that you want to show up in Terminal’s Title bar, e.g. Terminal (Intel)
Select the Shell tab and add the following line to the Run command:
/usr/bin/env /usr/bin/arch -x86_64 /bin/zsh --login
Deselect ‘Run inside shell’
Optionally: set this profile as the default.
In use
When opening a Terminal instance using this Intel-emulation mode, installing Mountwizzard 4 was a breeze. Download the scripts in a separate (accessible) folder, navigate to that folder in Terminal and run the Install script. Installation took less than a minute. Open another Terminal instance and start Run script. After a little while the familiar Mountwizzard 4 logo showed up. And should you run into an issue, a quick email to the developer of Mountwizzard, Michel Würtenberger, would probably sort it out. His support is fantastic.
So far only Mountwizzard has benefited from this workaround. But as time moves on, most likely there will be more command-line based programs that will benefit. At least the knowledge that there is a solution gives a lot of peace of mind.
As of this writing, the experience with the Mac mini is still very limited. But so far so good. Remarkable is the extremely low power usage. In general use, the power consumption is around 10-15W. That is only a hair above the power consumption of the Fitlet2. So even when using in the field with the GoalZero Yeti 400, there should be plenty of power for many hours of photography. Drawback might be is that the device produces little heat, so we’ll have to see how it holds itself during cold nights out in the open.

