
Software & Control
Tools used to operate the observatory in the backyard,
from the comfort of the home.
INDI
Controlling the equipment of the observatory is all based on the Instrument Neutral Distributed Interface (INDI) protocol. This is a platform agnostic client/server protocol that is designed to work in either a wired or wireless network. A device such as a camera or mount connects to a computer that is running the INDI server. The INDI server is accessed by the user via an INDI client. In the INDI client you can manage the devices, point and focus the telescope, create imaging sequences, etc.
For a device to connect to the INDI server, an INDI driver is required, which can be downloaded here. There are currently 142 drivers covering pretty much any camera, telescope, dome, weather station etc. used in astrophotography. Once the correct driver has been installed on the server, any client can use that device. This way, development of clients and drivers can happen independently in an asynchronous way.
INDI is an open source project and is in very active development, with a vibrant community of both professional and amateur astrophotographers. The INDI forum functions as a great support tool, with valuable solutions to problems often within hours. There is no cost to the use of INDI.

When it comes to software, the choice of operating system still has an impact on availability of software. The good news is that this issue gets smaller every day, and for most platforms there is an excellent range of tools available. AstroWorldCreations is an Apple MacOS environment. Software is selected based on availability within this ecosystem. For a very comprehensive overview of MacOS/iOS based software for astrophotography, the site MacObservatory.com is definitely worth checking out.
Hard- and Software Setup
The INDI-based system control is designed for a stand-alone, mobile setup with minimal wiring. At the heart is a Fitlet2 minicomputer that sits on the telescope and runs the INDI server. Most of the power (12V) and data (USB2 and USB3) connections run through a Pegasus Ultimate Powerbox v2 (UPB). Attached are the filterwheel, the Sesto Senso auto-focuser, a Flip-Flat for taking automated flats during imaging, and an MBox to feed the system with weather information. The camera is directly connected to the Fitlet2 through USB3 for maximum throughput. Any equipment that needs a separate 12V DC input gets its power from the UPB where individual ports can be turned on or off.
The mount is fed with local time and location information through a separate MGBox with GPS, not controlled via INDI, but just connected to the GPS-port on the mount as a ‘set and forget’ setup.
For backyard use, the system runs on 220V AC power supply. A powerful 300W Power Supply Unit feeds 12V into the UPB. The mount comes with its own standard power brick feeding 24V into the mount control box. For mobile use, an off-site option is available. In that setup, power is fed into the system via a GoalZero Yeti 400Wh Power Station, which has 2 x 12V DC power outlets. One outlet is connected to the UPB. The other outlet is used to power the mount via the 10Micron Mobile Power Supply brick.
The whole setup is connected via WiFi connection. For the backyard option, a separate Home Network access point has been installed in the garden. The system can be reached from anywhere in the home and is internet-connected. For the off-site option the WiFi network is created via a stand-alone Ubiquiti Amplifi router, broadcasting the SSID ‘Galaxy’. This router is powered via USB-C, so can be run from a USB-C PD powerbank. Both the Fitlet2 and mount connect via WiFi to this router, as do the INDI Clients. The system can be reached from anywhere within reach of the Amplifi router and is not internet-connected.
For control, two options are available. Either in a strict Client/Server mode, where KStars/Ekos and Mountwizzard are run on any computer in the house and connect to the Fitlet2 as server to pass on the information. Or in a local mode, where KStars/Ekos and/or Mountwizzard run locally on the Fitlet2 and are controlled from any computer in the house through screen emulation using a VNC server. The first option gives the snappiest experience and direct access to the collected images. But large images may take a while to come in, and use up observation time. The second option is a bit more laggy experience, and collected images must be manually transferred. But there is practically no wait time between frames so observation time is most optimally used.
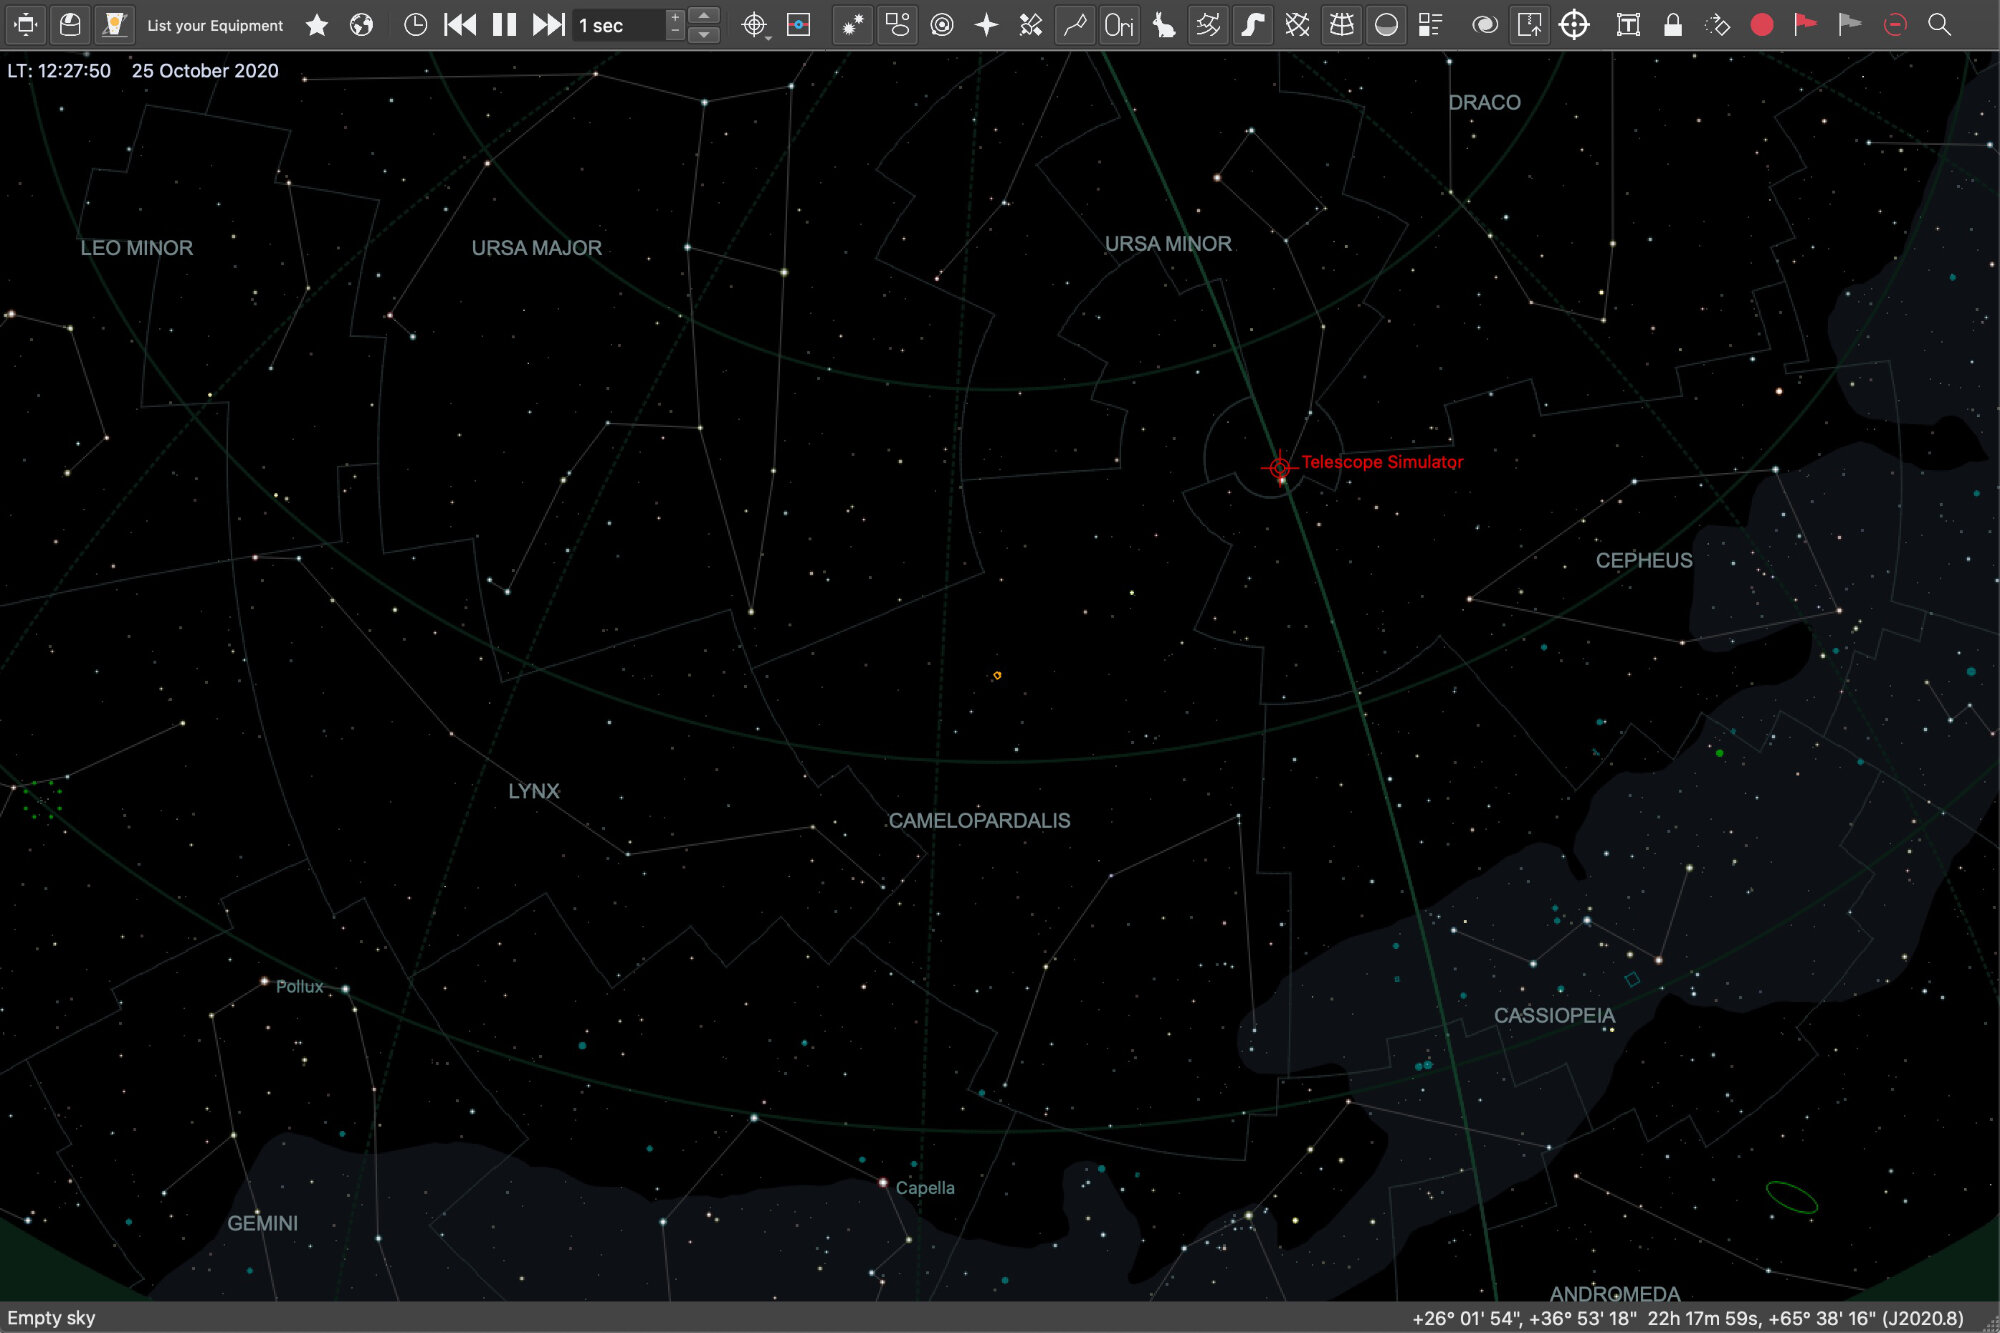
In either option, GOTO slewing commands for targets are given through SkySafari (iPad or Mac). While KStars also has a planetarium function built in, the versatility and ease of use of SkySafari makes it the preferred choice.
Wiring is reduced to a minimum with this setup, with short USB-cables on the telescope and only one wire running from the ground to the telescope, carrying the 12V DC power up.
Minicomputer
The Fitlet 2 is a minicomputer designed for industrial purposes. It is fairly small, just a bit bigger than a Raspberry Pi. But build quality is very solid, all metal and designed to work in challenging conditions. It’s a modular system, so you can configure it to your needs. For AstroWorldCreations, the WiFi option was important. The minicomputer is powered by regular 12V DC and the Intel-Atom processor does not use a lot of power. The minicomputer has 4 USB connectors, of which two are USB-3. The operating system that is installed is Linux Mint.
Router
The WiFi module in the Fitlet 2 can act as its own WiFi hotspot. However, signal strength and versatility of placement made a regular router the more attractive option. The Amplifi HD router from Ubiquiti uses a USB-C power supply and can therefore be powered via a powerbank. Not every powerbank will work though, so important to test it out. A disadvantage of this setup is that there is not a connection with the internet. The advantage is that this setup also works in the field, far away from any WiFi coverage.
Power Station
The Yeti 400Wh from GoalZero is a Lithium-based power station with multiple power outlets. This includes a 220V outlet, which was originally used for the mount. Power usage however was 21W. With the mobile power supply, only 13W is consumed leading to a longer usage time. The two biggest other power consumers are camera cooling (14W) and dew heater (10W). With the whole system on, around 40W of energy is consumed, allowing for a total of 10h of imaging time. Charging the power station takes about 4h.
KStars
Naming is a bit confusing here, but KStars is the planetarium software. From within KStars there is access to Ekos and the INDI panel. While KStars is comprehensive planetarium software, it is not as user-friendly as SkySafari. Also there are no options to connect a mobile app to KStars and give GOTO commands to the telescopes from there.
Ekos
Ekos is the main application for observatory control. Behind each tab there is a logical set of functionality specific to an area of control, such as imaging, focusing, scheduling, etc. Because of the client-server architecture, Ekos runs natively on whichever computer is chosen for control, so no need for screen sharing software.
INDI control
The device drivers run on the server. But through the INDI panel embedded in KStars, there is direct control over the behaviour of these drivers. The logging function is a handy tool during problem-solving. A careful review of all the settings is advised when setting up a system for the first time. And important: safe the configuration before turning it off.
KStars/Ekos
The observatory is controlled using KStars/Ekos software, an INDI client. KStars is a planetarium program that supports planning of targets, FoV indicators, GOTO’s, etc. Ekos is an observatory control and automation tool with special emphasis on astrophotography. Ekos opens from within KStars and therefore people often refer to it as KStars/Ekos. This software is platform agnostic, and comes in Windows, Linux and MacOS versions. In KStars/Ekos, INDI-drivers can be directly accessed, allowing direct access to and control of connected equipment.
KStars/Ekos software is open source. There are specific Raspberry Pi-based implementations such as Astroberry and StellarMate. KStars/Ekos is in constant development by a large group of developers. The system administrator Jasem Mutlaq is very fast with updates, bug fixes, etc. Rob Lancaster makes the DMG-files for MacOS installations. Additional expansions to the KStars/Ekos ecosystem include KStars Lite for Android-based mobile devices and Ekos Live, an add-on to Ekos for remote operation of an observatory.
There is lot of functionality packed into this software. Some of the most prominent functions include camera control with sequencer, (auto)focusing tool, embedded (off-line) plate-solving, polar alignment tool, mount control, (simple) mount modelling, guiding tool, observatory management with weather monitoring as well as dome control, and a very powerful scheduler for fully automated imaging throughout the night. Some real good tutorials can be found here. It’s a young channel, but growing quickly and in depth, but great to follow videos.
Those that would like to start with more simple, but very well designed INDI-based software on the MacOS platform, might want to have a look at the suite of software developed by Cloudmakers.
The startup page where a profile (set of equipment) is selected and Ekos started. Once a sequence and/or the scheduler is running, this is the place were incoming images can be viewed and progress monitored.
The scheduler is a powerful tool where multiple objects can be selected, each with their own image sequence. Good for a full night of automated imaging with automatic shutdown at the end.
An autofocusing routine can be run either in complete auto mode, or in manual mode. For both a lot of fine-tuning can be done on workflow, algorithms and acceptance criteria.
Ekos comes with offline plate solving embedded. Plate solve at least one image at the start of a session, so that coordinates, rotation etc. are added in the fits-header. Polar alignment and model building are located here too.
MountWizzard
For owners of a 10Micron mount, MountWizzard, or similar software, is an essential tool. The 10Micron mounts have absolute encoders built in. These know exactly the rotation of each of the axes at any point in time, even after restart. What the mount does not know is to which position at the sky each position of the mount corresponds. This needs to be programmed into the mount in a process that is called mount modelling. The concept of mount modelling is simple: take several images at different points in the sky, and plate solve them. This results in a set of mount positions and sky positions. With a minimum of three points, these two sets can be linked and in theory the mount would know the exact position. But reality is different. Small errors, such as refraction, flexure in the setup, inaccurate polar alignment, etc. all lead to small deviations. Therefore more than three points are typically advised. For a mobile setup 10-15 points is adequate, while fixed observatories often build models of 50-100 points. While this can be done manually, most people find an automatic method to be preferred. For MacOS, the only available option is MountWizzard.
MountWizzard is platform agnostic and is available for Windows, Linux and MacOS. It works very well with INDI. The software is currently in its fourth iteration, and MountWizzard 4 is really a big step up from previous versions and probably the best 10Micron mount modelling software available. The developer Michael Würtenberger is very responsive to questions and is constantly improving the product.
The software has developed to a complete mount management tool, with a polar alignment module, ability to manage (save, modify, load) models, a virtual keypad, control mount movement, fits viewer, dome control, environmental monitor, satellite tracker, etc.
When using Mountwizzard 4 on Macs with Apple Silicon, Terminal has to run in Intel-emulation mode. This blog provides a step-by-step instruction how to do so.
Colours indicate connection status of critical components, such as mount, camera, solver etc. The ‘mount’ menu provides a comprehensive overview of mount status, time to meridian, etc.. and allows for basic operation like start/stop, tracking rates and tracking limits.
Model points are usually evenly distributed across the sky. Between 10 and 15 points is often sufficient to calibrate a mobile setup. The customisable horizon profiles help to prevent using model points that have an obstructed view.
The result of a model build includes various parameters, including RMS, ortho align error, polar align error, etc. Indications of Alt-Az knob adjustments make for a practical guide to adjust course polar alignment.
The ‘Manage Model’ function provides deep insight into the accuracy of the model points. From here models can be fine-tuned, outliers eliminated and complete models can be loaded from or saved into the mount computer.
SkySafari Pro
The planetarium software used is SkySafari Pro. One of the main benefits is that it is available on both MacOS and on iOS devices, such as iPhone and iPad. Through a LiveSky account, all information is synced between platforms. Planning targets, deciding FoV, learn some background of the objects, all works well while sitting on the sofa with an iPad. Understanding a targets’ orbit from the exact spot in the garden works well using the iPhone with augmented reality. And managing the list of planned targets and equipment used, works well on the MacBook.
There is also an INDI-driver for SkySafari. This allows GOTO commands to be given to the telescope from iPhone or iPad. The interface of SkySafari makes for a really great experience, so while KStars also is planetarium software, over time SkySafari has become the most favourable planetarium software.
Astroplanner
Astroplanner is software that is probably more designed for visual astronomers. But for astrophotography it also has some great functionality. This is an extremely versatile piece of software with lots of functionality. The two main uses for AstroWorldCreations are the planning of objects as well as the registration of images taken and the conditions during capture.
Objects of interest can be downloaded from various databases to the objects list. When scrolling through the objects list, for each object the orbit is graphed for that day. In a separate panel its maximum altitude is plotted throughout the year, making finding the best season for a certain target very easy. Moon phase, moon orbit, nautical and astronomical dusk/dawn/night are always visible as well.
For each object, conditions are being recorded. This includes information on weather, mount model parameters, as well as the exact dat for each series of frames, including duration, filter used, gain settings, focus position, etc., etc. The application has the option to add custom fields throughout, which helped enormously to register the information that was required. From here, an easy Excel export can be generated with all sessions and images listed.
PixInsight
After the many hours of capturing images, often many hours are spent behind the computer to process the frames into a final image. At AstroWorldCreations, the main tool used for all that work is PixInsight by Pleiades Astrophoto, a Spanish software development company. PixInsight is designed specifically for astrophotography and developed by astrophotographers. It is a modular platform and a large group of external developers are contributing to the PixInsight platform. It is available for Windows, Linux and MacOS operating systems. PixInsight is a calculation-intensive application and makes maximum use of available processor cores and RAM memory. The more powerful the computer is, the faster PixInsight will run. A benchmark tool in the application together with an open benchmark database allows you to see how well your computer performs.
There is no denying that the learning curve for PixInsight is pretty steep. There are tons of tools and scripts to choose from and each tool contains an abundance of tweaking options. On YouTube there are many channels that have published training videos on how to use PixInsight, and also on the PixInsight website there is a series of training videos. But probably the best and most comprehensive training tool out there is from Adam Block. Both the PI Fundamentals (basic functionality) as well as the PI Horizons (advanced techniques) are great collections of videos. Not only will you learn how to use the tool, but also understand what is actually happening. These are paid courses, but worth every penny.
With most of the images published here on AstroWorldCreations you will find a flow-chart of how all the PI tools have been applied to get to the final image. It does not have the individual settings, but together with the description of the processing applied it hopefully adds some valuable background.